Load Balancer
Load Balancer
If your question is not addressed below, contact us through our feedback form and we will get back to you shortly.
- What is Load Balancer in IDrive® Compute?
- How do I create a load balancer?
- How do I rename a load balancer?
- How can I delete a load balancer?
- How can I detach an instance from a load balancer?
- How do I edit the DNS Pointer Record (PTR) for a load balancer?
- How do I configure health check parameters for the instance where the load balancer is attached?
What is Load Balancer in IDrive® Compute?
IDrive® Compute enables you to distribute the connection requests across multiple instances with the help of load balancers. A load balancer can be configured to route connection requests to the attached instances. You can create multiple load balancers and attach them with instances to balance the load of the connection requests initiated for them.
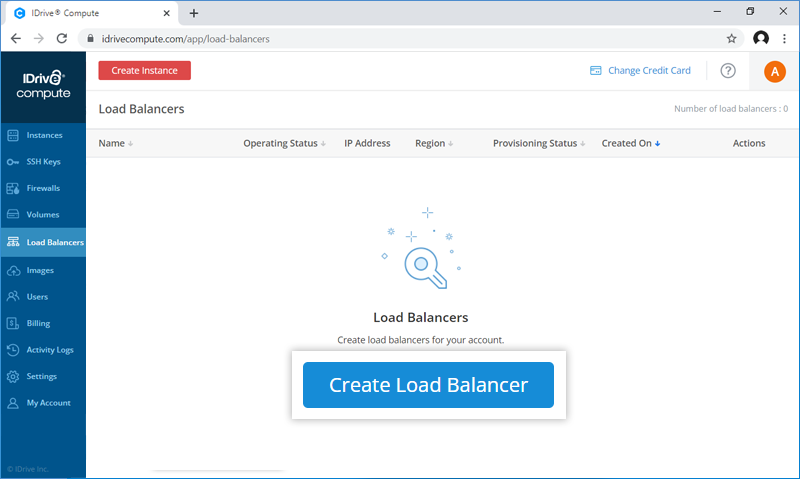
How do I create a load balancer?
To create a new load balancer,
- Sign in to your IDrive® Compute account.
- Go to the Load Balancers tab.
- Click Create Load Balancer.
- Select a Region from the drop-down list.
- Enter the load balancer name, select an algorithm, enable/disable the sticky session, and enter a cookie name.
- Select the required network port, protocol, and port range for load balancing.
-
Add a Health Check route to the attached instances:
- Type - The type of http port and protocol for the load balancer
- Interval (Sec) - The interval between two consecutive health checks
- Timeout (Sec) - The period after which the health check will stop. It must be lower than the Interval.
- Max Retries - The number of allowed connection failures before designating the user as INACTIVE. Select a range between 1-10.
- Max Retries Down - The number of allowed connection failures before designating the user as ERROR. Select a range between 1-10.
- Select an instance to attach this load balancer.
- Click Create.
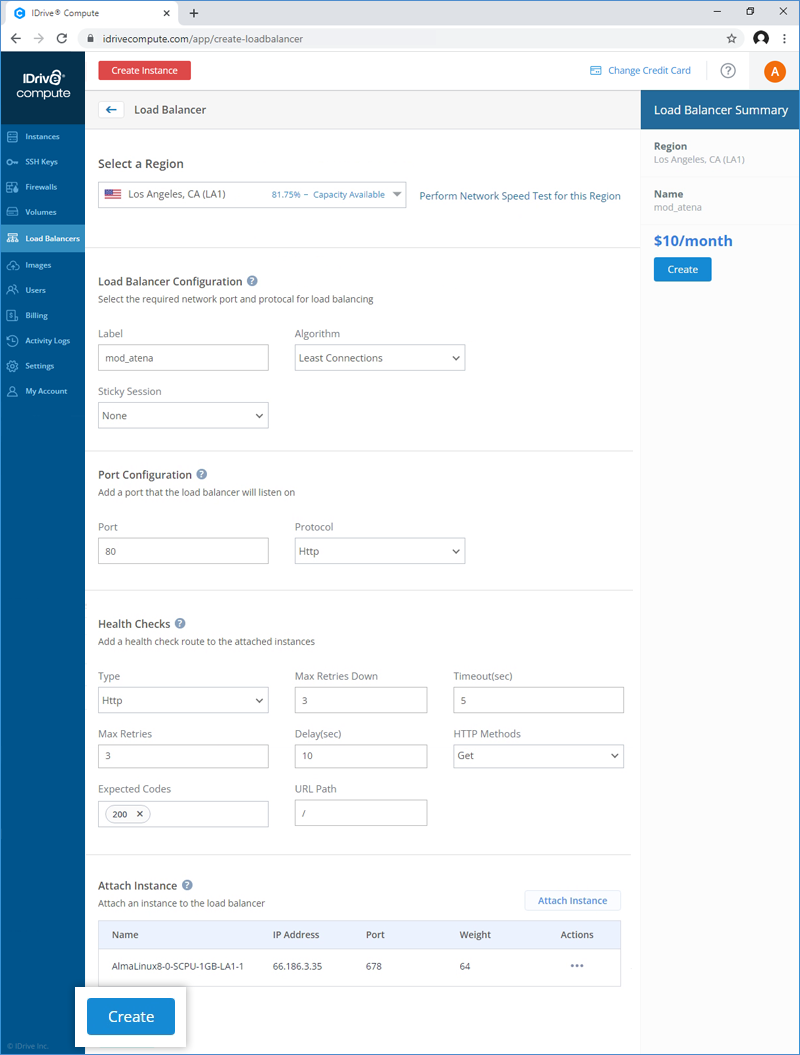
On successful creation of a load balancer, a message will be displayed and the new load balancer will be listed in the Load Balancers page.
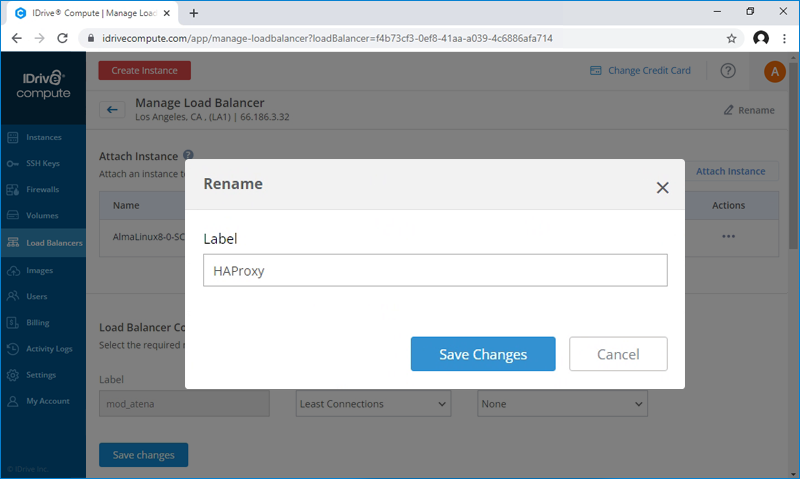
How do I rename a load balancer?
To rename a load balancer,
- Sign in to your IDrive® Compute account.
- Click the Load Balancers tab.
- Hover on the required load balancer, click Actions, and select Rename.

- Click Save Changes in the popup.
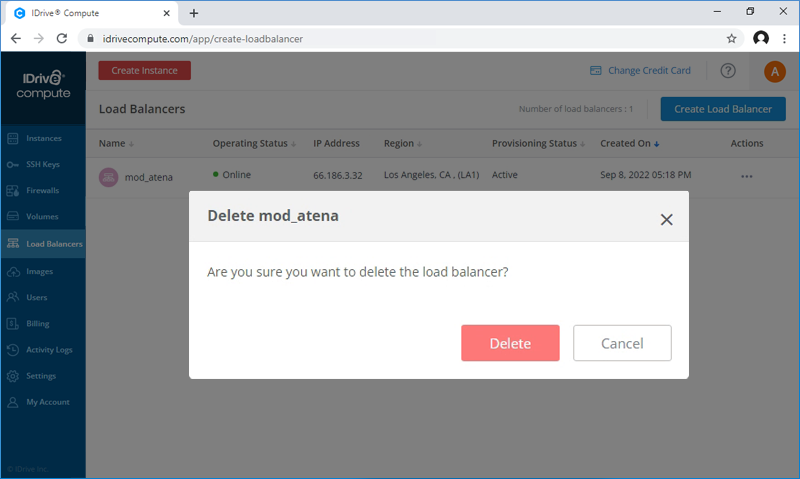
How can I delete a load balancer?
To delete a load balancer,
- Sign in to your IDrive® Compute account.
- Click the Load Balancers tab.
- Hover on the required load balancer, click Actions, and select Delete.
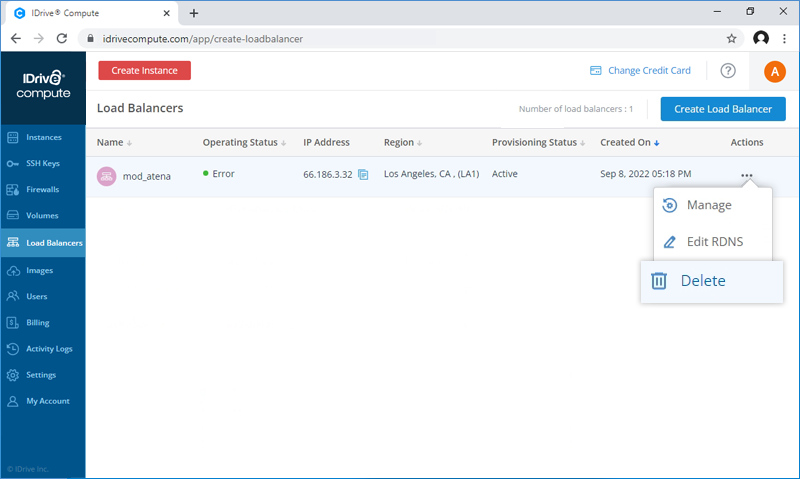
- Click Delete in the popup.
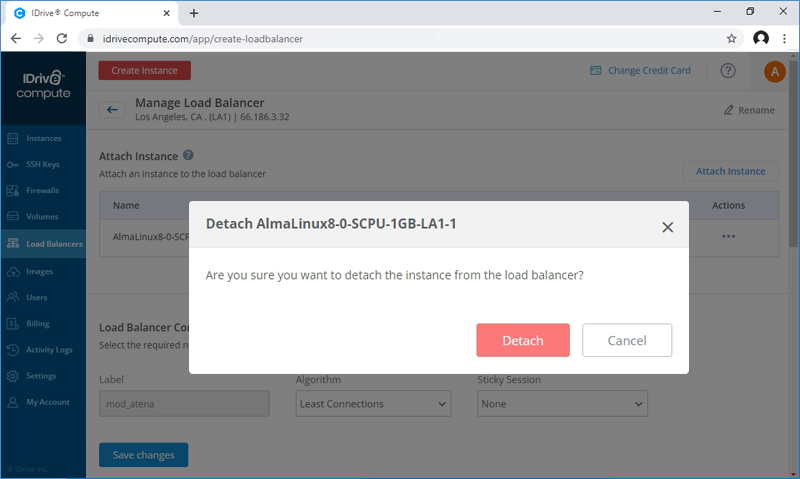
How can I detach an instance from a load balancer?
You can detach an instance only if it is attached to a load balancer.
To detach an instance from a load balancer,
- Sign in to your IDrive® Compute account.
- Go to the Load Balancers tab.
- Hover on the load balancer that is attached to an instance, click Actions, and select Detach.
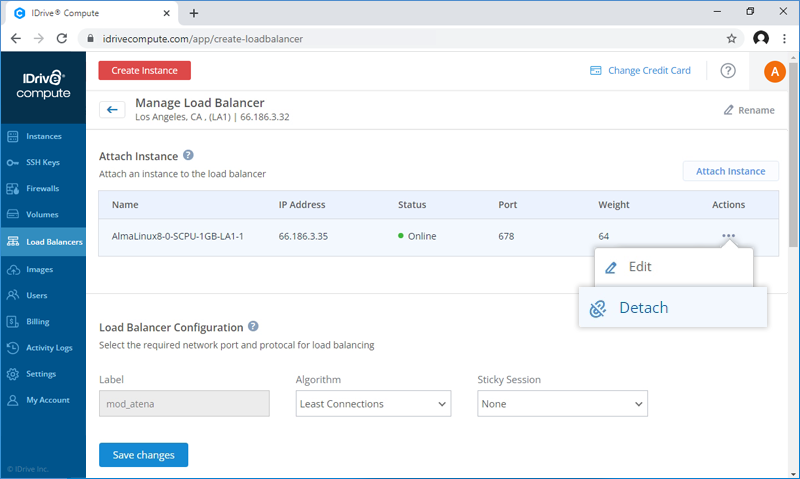
- Click Detach in the popup.
How do I edit the DNS Pointer Record (PTR) for a load balancer?
To edit a DNS Pointer Record (PTR) for IPv4 address,
- Sign in to your IDrive® Compute account.
- Go to the Load Balancers tab.
- Hover on the load balancer for which you want to edit the DNS Pointer Record (PTR), click Actions, and select Edit Reverse DNS.
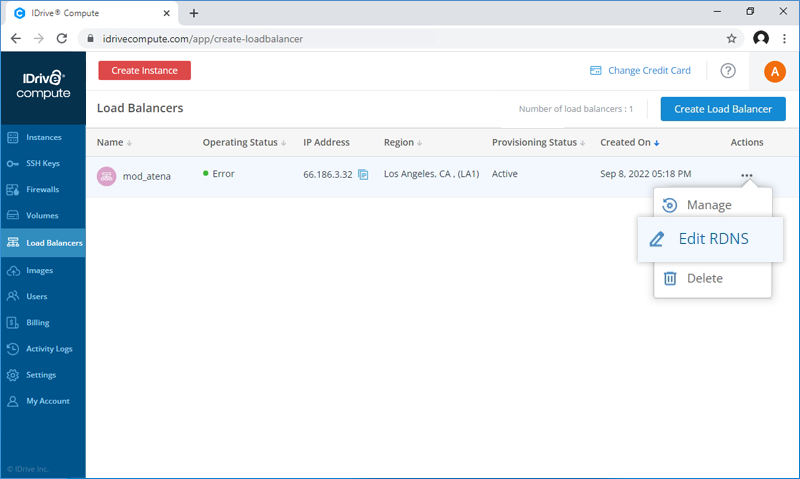
- Enter the DNS pointer record (PTR) to perform Reverse DNS lookup.
- Click Request.
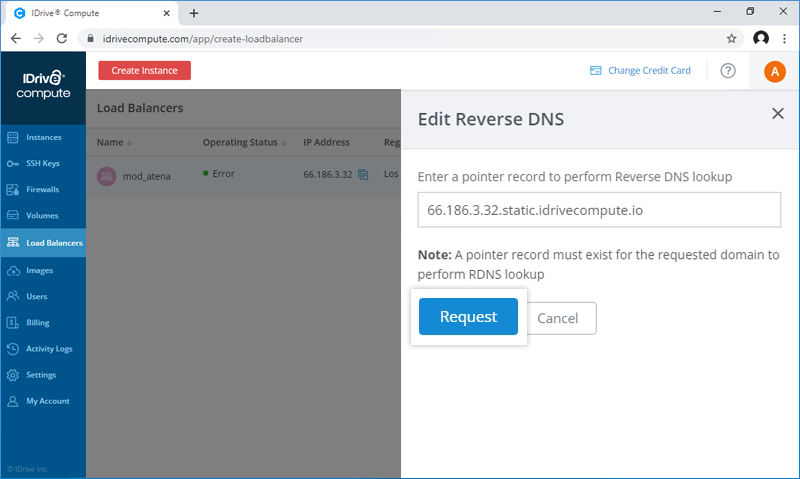
Once you enter the PTR, it will be stored under the load balancers for Reverse DNS lookups. You can view the Reverse DNS PTR records for the required load balancers.
How do I configure health check parameters for the instance where the load balancer is attached?
While creating a load balancer, you can set various parameters for performing health checks of an attached instance. The load balancer will periodically check the status of the attached instances as per the predefined parameters and route connection requests only to the healthy instances.